function readOnly(count){ }
Starting November 20, the site will be set to read-only. On December 4, 2023,
forum discussions will move to the Trailblazer Community.
+ Start a Discussion
Lenore ScanlonLenore Scanlon 

Traihead Service Cloud Basics, Automated case assignment

I am working on User-added image
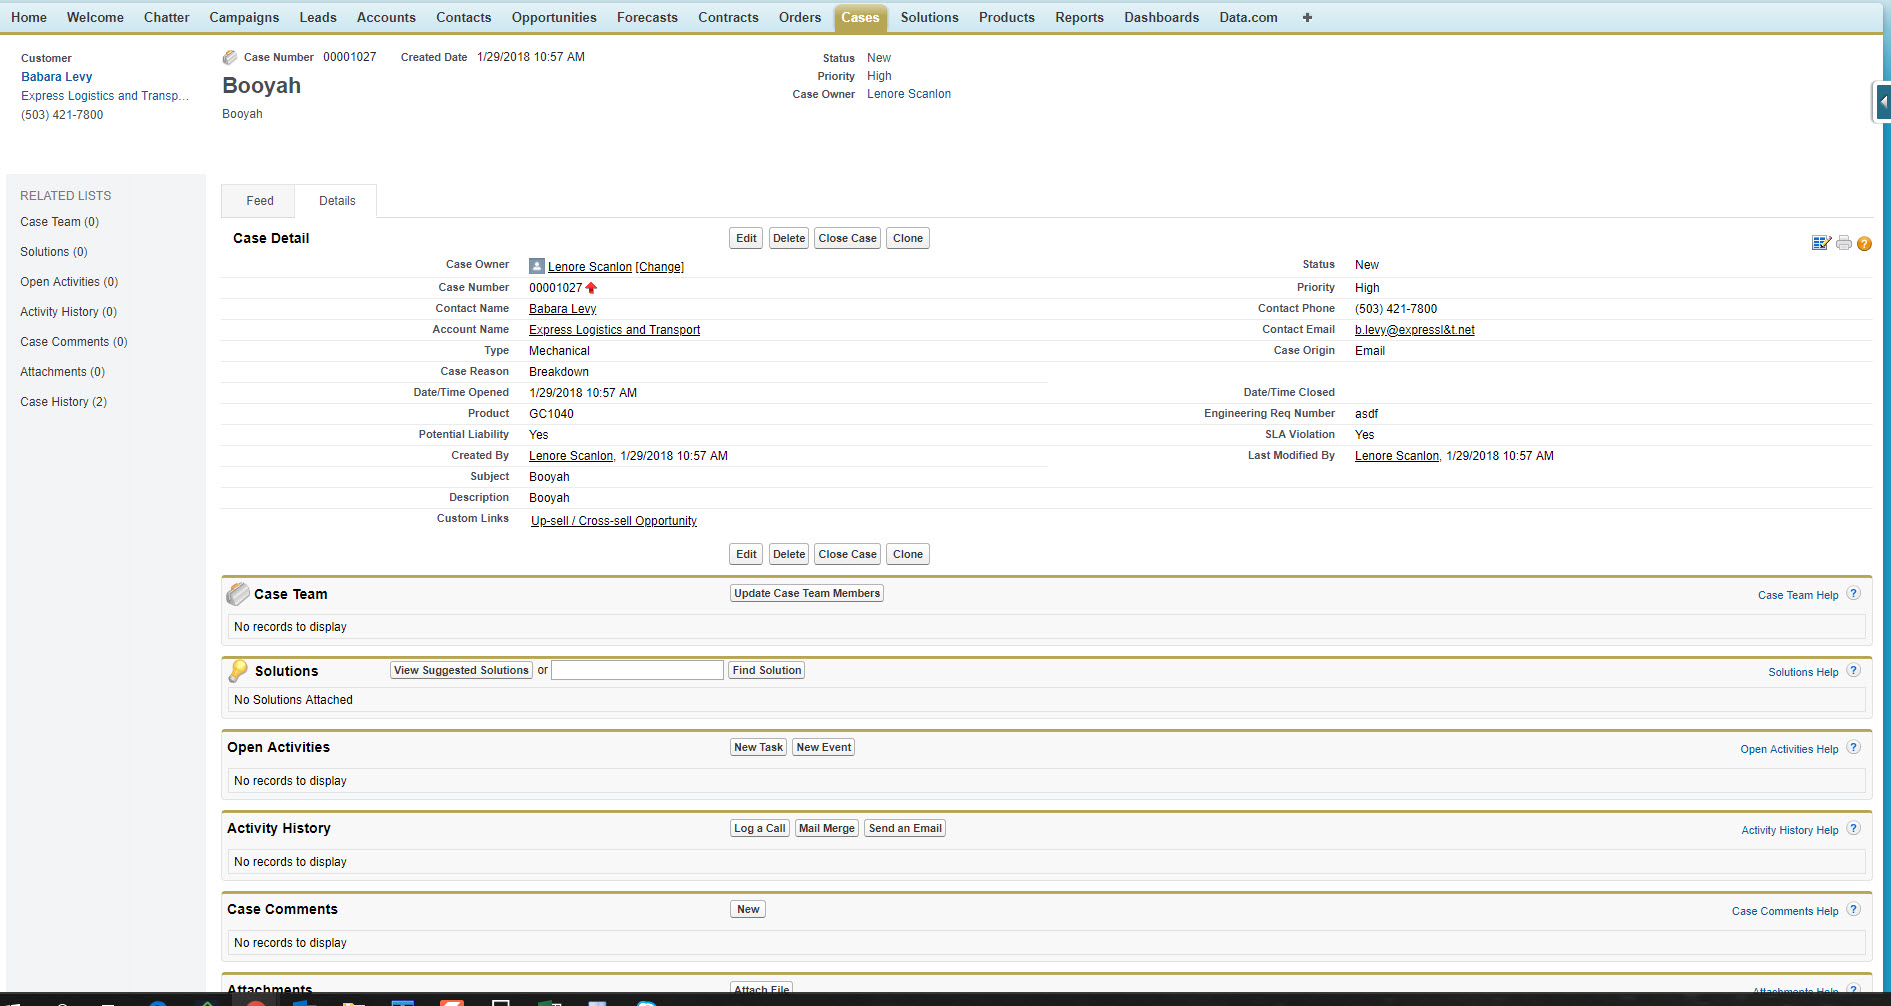
. I've completed the assignment according to the directions and the answer from https://www.youtube.com/watch?v=VJpnylkVTGY.  It still gives me an error saying, "Challenge Not yet complete... here's what's wrong: 
The assignment rule 'Assign Booyah' was not found for cases or it is not active".  I have an assignment rule, and it is active. So I can't get the 500 ​ points. I've even created a case with the criteria, and it worked.  I don't understand why I can't get past the error.
Rahul KumarRahul Kumar (Salesforce Developers) 
Hi Lenore scanion,
 
Create a Case Queue
Let’s say that you’ve got a team of support agents who need to manage a shared workload of cases for Platinum Support—your company’s premier support level. These cases are from customers who pay big money to get the best service. To help your agents locate and work off this list of important cases from high-priority customers, we’ll create a queue.

1) From Setup, click Manage Users | Queues and then click New.
2) Type a Label and Name for the queue, such as Platinum Support.
3) If you want the support agents included in the queue to receive an email when a new case arrives, leave Queue Email blank. Otherwise, type an email address to notify a person or persons with the email address when each new case arrives.
4) Add Case to Selected Objects.
5) Add members, including yourself, to the queue and click Save.
Now that the queue is created, let’s check it out as if we were support agents. We can get there with a few clicks.
6) Click the Cases tab.
7) From the list, choose Platinum Support and click Go!
Here’s the queue, which is empty at this time.

Add an Assignment Rule
1) From Setup, click Cases | Assignment Rules and then click New.
2) Type, Awesome Admin Assignment, and click Save.
3) Select the rule you just created, and next to Rule Entries, click New.
Here’s where we add the little details that determine case assignment.
4) In Sort Order, type 1 so that the entry we add is processed first. After all, we’re dealing with awesome admins here. In the real world, you’d create one assignment rule with many different entries, which are processed in chronological order. When a case matches an entry, it’s assigned without proceeding to other entries. Won and done!
For entry criteria, select “Contact: Title equals Awesome Admin.”
5) One of the many useful things about case assignment rules is that you can determine how cases are assigned based on fields from records other than cases. For instance, we’re choosing case assignment based on a contact field, but we could also choose case assignment based on fields from accounts, assets, or users.

6) Add yourself as the User assigned to the rule entry.
7) In Email Template, click the lookup and choose Support: New Assignment Notification, so that you receive an email whenever a case from an awesome admin is assigned to you.

Define When Cases Escalate
1) From Setup, click Customize | Cases | Escalation Rules and then click New.
2) Type Silver Support, then click Active and Save. Activating a rule deactivates any existing active rules.
3) Select the rule you just created, and click New to add a rule entry.
Here’s where we add the details that determine when the case gets escalated.
4) In Sort Order, type 1 so that the entry we add is processed first. In the real world, you’d create one escalation rule with many different entries, which are processed in chronological order. When a customer issue comes in and is converted to a case, it’s assigned based on the first entry it matches.
5) For entry criteria, select “Case: Status equals New.”
Similar to other rules, you can determine automatic case escalation based on fields from records other than cases.
6) Set business hours to your organization’s default 24/7 support.
7) Set that escalation times are based on when cases are created.
8) Click Save, then New to add an escalation action.
9) In Age Over, enter 5.

Please refer the below link for reference. hope it helps.

Please mark it as best answer if the information is informative.so that question is removed from an unanswered question and appear as a proper solution.

Thanks
Rahul Kumar
 
Lenore ScanlonLenore Scanlon
I've done all that you said uptop, and I still get "Challenge Not yet complete... here's what's wrong: 
The assignment rule 'Assign Booyah' was not found for cases or it is not active". I've even tested the emails on the escalation, and they get sent to me.  I think I have everything set up right. There got to be something wrong with the way it checks for things. I clearing have an 'Assign Booyah' assignment rule that is check as Active. See attached.User-added imageUser-added imageUser-added image
Grzegorz Krawczyk 7Grzegorz Krawczyk 7
Hello Lenore,

I know that your post is quite old but I made the same mistake and it may help to others as well. You have the wrong Case Assignment Rule name. Your name is "Assign Boohay" and the correct is "Assign Booyah". I struggeled over an hour with that! :)

Best,
Grzegorz
Power Ranger123Power Ranger123
I was struggling with this challenge. Just found this video on Youtube that how to solve the challenge. if any one is still stuck.
https://www.youtube.com/watch?v=cONnaqR7Avs&index=90&list=PL3JVwFmb_BnQQZ0S2Fa9dqu-A_4f5PIYj&t=0s
Helya PerssonHelya Persson
Hi I have the same problem and I have followed every step correctly and double checked with the video that has been shared but I still get "We can't find an assignment rule named 'Assign Panel1'". Can someone please help me to fix this problem as I can not proceed? Thanks